Self installation At Home: Grab Bar
- Medicalassistance4u
- January 18, 2023
- Bathroom Assistive, Grab Bars
What are grab bars?
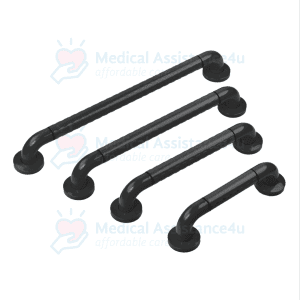
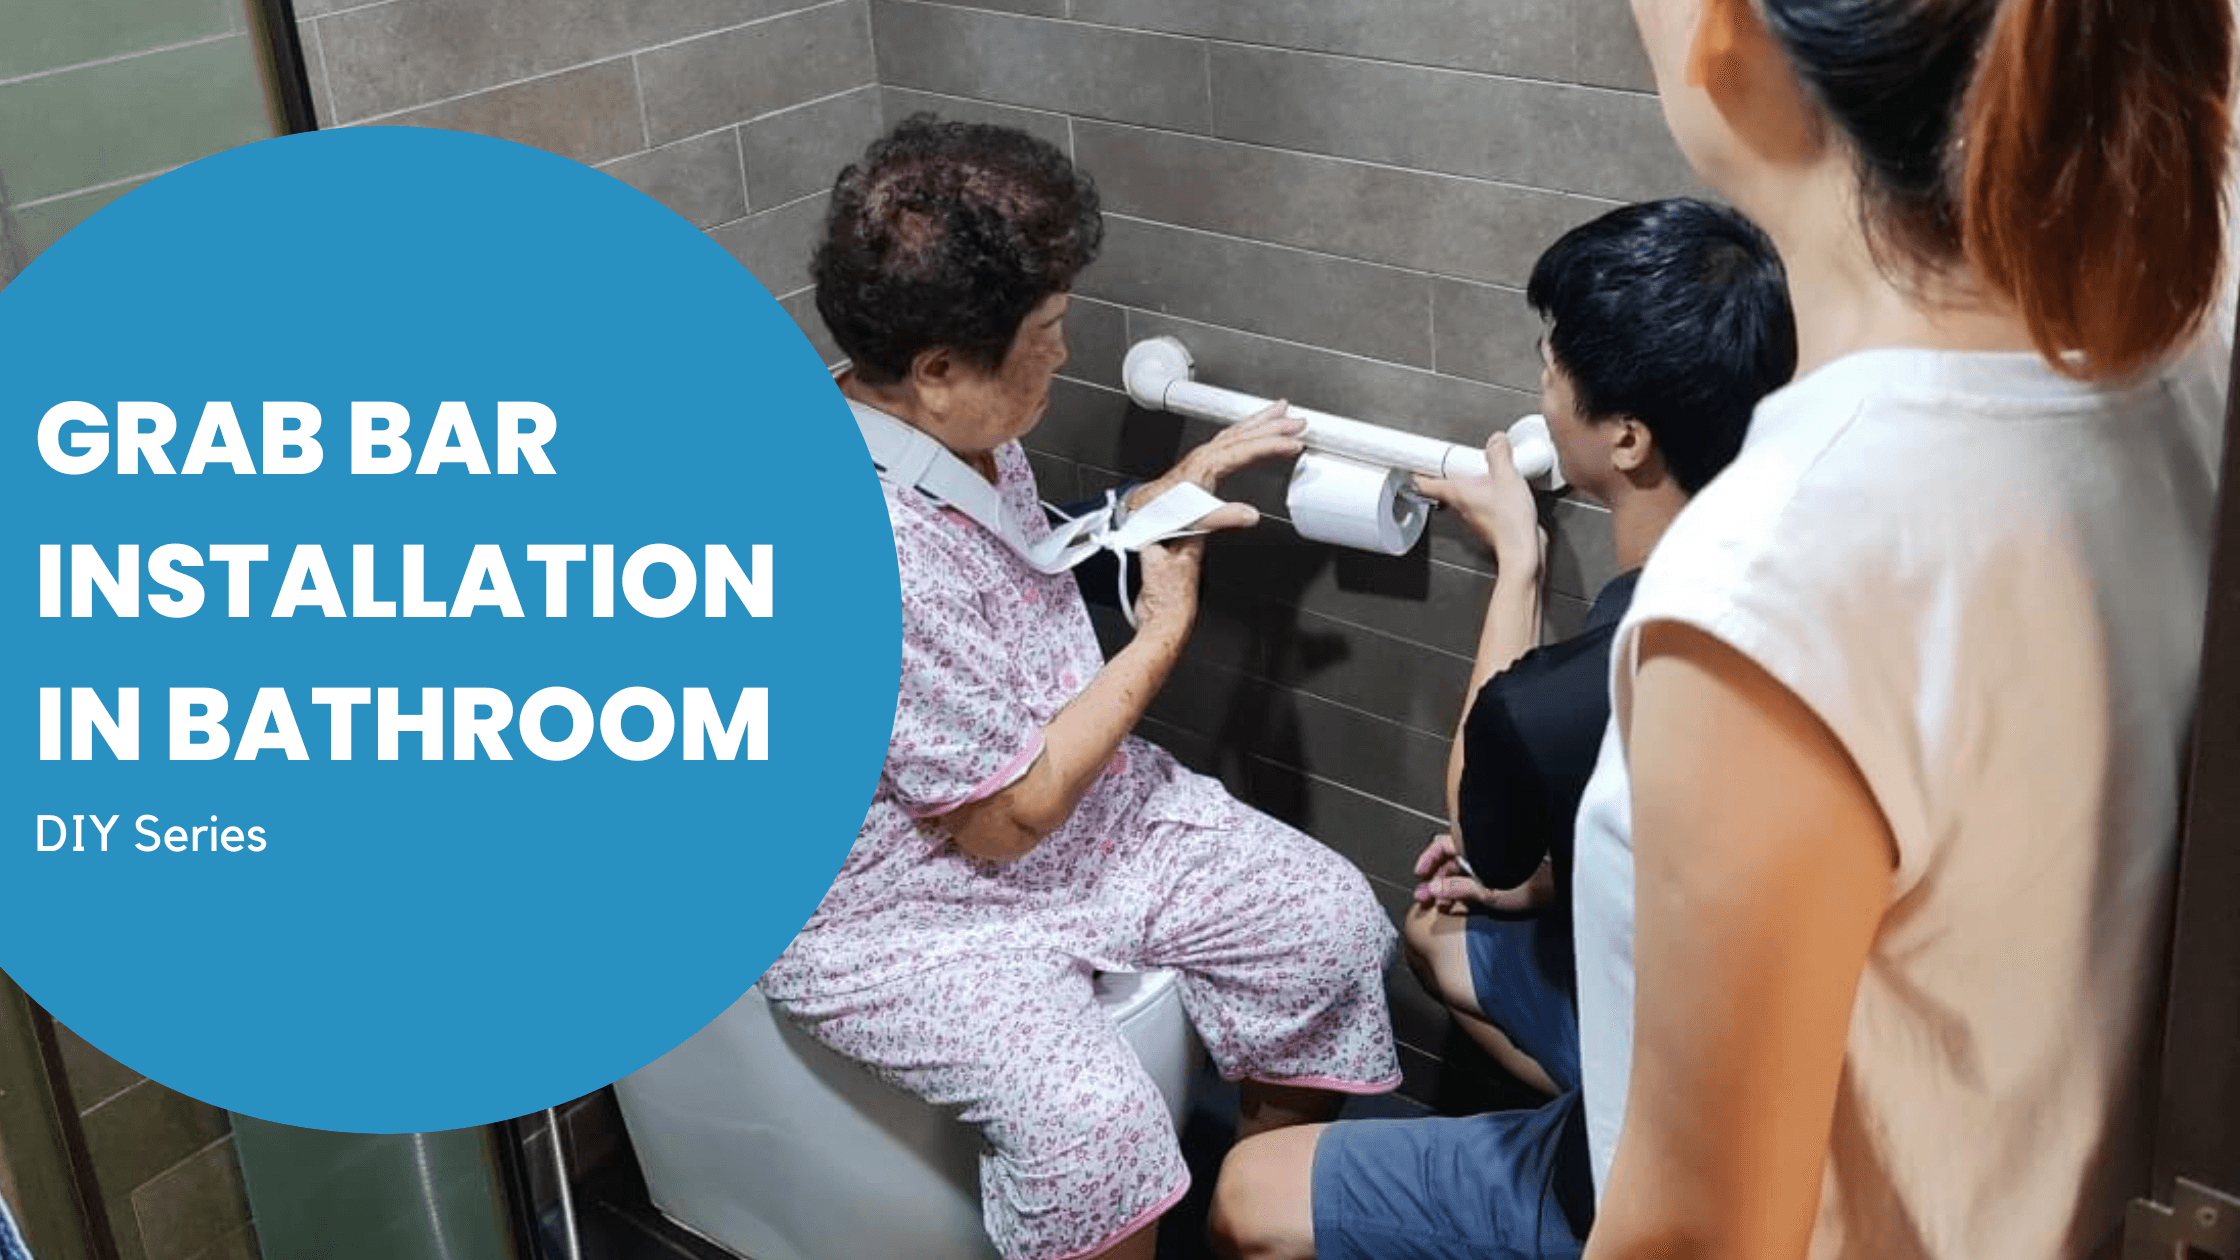
Grab bars are safety devices designed to provide important points of support in high fall risk areas at home. It is commonly installed in toilets to create a safer environment for the elderly when the floor surface is slippery. It is critical to purchase high quality grab bars to ensure the longevity of the tool.
How to install grab bars?
Grab bars installed at the wrong position decreases the efficacy of the grab bars and may not provide good support or prevent falls.
Installation of grab bars requires consideration of multiple factors:
- Common hazards in toilets
- Available space in the toilet
- How the user moves in the toilet
- Height of the user
- Objective of each installed grab bar
What tools do we need to self install our own grab bar?
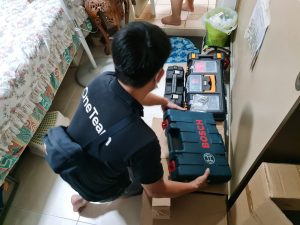
Installation of grab bar can be done properly with the right tools and technique. In this article, we will look at the tools needed for proper grab bar installation at home:
Time required (Each grab bar): 15-20 min
Tools to prepare:
- Marker
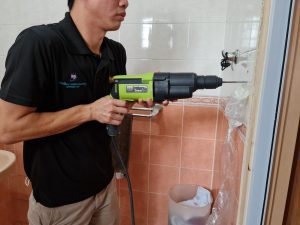
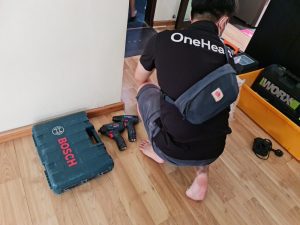
- Power Drill with Masonry Bit (to drill on concrete)
- Battery drill with screw driver bit (to tight the grab bar)
- Marble drill bit (to drill on tiles to prevent crack)
- Hammer
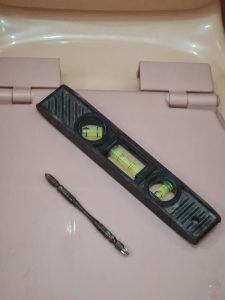
- Water level ruler
- Wall plug
- Stainless steel screw (recommended for bathroom)
1. Marker

After deploying grab bar installation pre-work to understand the user’s needs, you will be able to identify the height of where the grab bar should be installed. The marker will be used to make markings on the wall to mark out where the drill holes will be
2.Power Drill with Masonry Bit
Second tool you’ll need will be the Power Drill with Masonry Bit. The Power Drill will be used to drill on concrete.
3. Marble drill bit
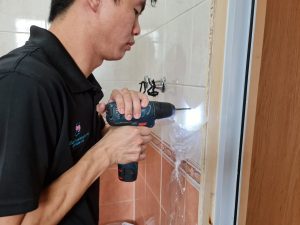
If you are working on tiles, Marble drill bit will be needed to create a drill hole without cracking the tile.
4. Wall Plugs
After the drills holes are created, wall plugs will be inserted into the drill holes to provide secure fixing. Without the wall plug, the screws would not grip into masonry and would not provide adequate compressive force to ensure a secure, permanent fixing.
5. Hammer
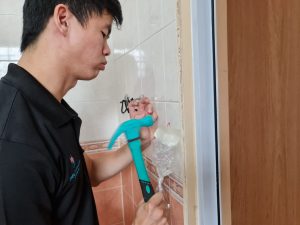
The hammer will be used to fit the wall plug into the drill holes. Be extra caution when you are executing this step to ensure that the wall plug is inserted properly so it can secure the screw well.
6. Battery drill with screw driver bit 
Once the drill holes are set, you will need a battery drill with screw driver bit. The tip of the drill fits onto the screws you will be using to set up the grab bars.
6.Spirit level ruler
A Spirit Level is a tool used to indicate how parallel (level) or perpendicular (plumb) a surface is relative to the earth. The spirit level is used to check if the grab bar is levelled and straight.
7. Stainless steel screw
Lastly, you will find a packet of screws when you purchase a set of grab bars. Those are usually not stainless steel.
If you have the intention to install the grab bar in your bathroom, it is recommend for you to switch out those screws for stainless steel screws. This replacement might look like it is a small step to take but it will greatly affect the efficacy and lifespan of the grab bar.
At Medical Assistance4u
We provide grab bars and support bars with high quality stainless steel cores that are guaranteed to last and grab bar installation services in Singapore. They can be installed in high fall risk areas like toilets, living rooms, walkways and more. The surface of the grab bars are anti-slip to prevent falls.
Our team of medically trained staff at Medical Assistance4u can provide you with consultation services to assist you in finding the best support positions and most suitable safety tools for your loved ones.


